Hey everybody! Sorry again for not posting for a while, but my life has been really stressful as of late. Today I was home sick so I caught up on a lot of stuff I needed to, like drawings that I've wanted to do and studying for the ACT, which I am taking soon! Also today I wrote this tutorial for making a headbow from waist-ties!
One thing I really hate about lolita dresses is the waist-ties. They are so pointless, and even if you can figure out how to tie them into a decent looking bow, they hurt your spine when you sit with your back against a chair! Another thing I hate is how expensive matching headbows are; I can justify spending $300+ on a dress, maybe $30 for matching socks (although I feel that often times, the matching print socks are usually not worth it . . . ) but I absolutely cannot bring myself to shell out $40+ for a headbow when I know how easy they are to make. So I feel like it's a good thing that I hate wearing the waist-ties because I can just take them off and make a matching headbow from them! Honestly, this was the first time that I've made a bow this way, but it was really easy so I'm definitely going to do it again.
You'll need a few things to start with:
- waist-ties
- a sewing machine
- a thread and needle
- a headband
- an iron
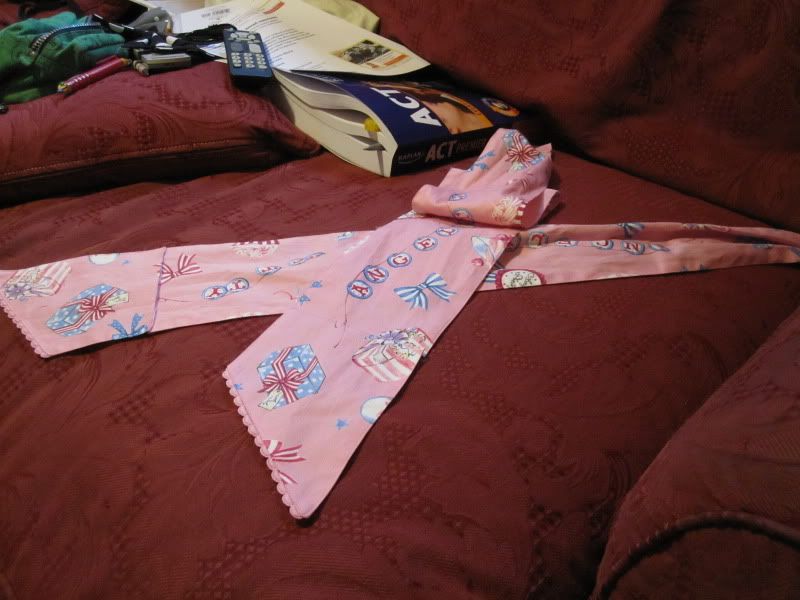
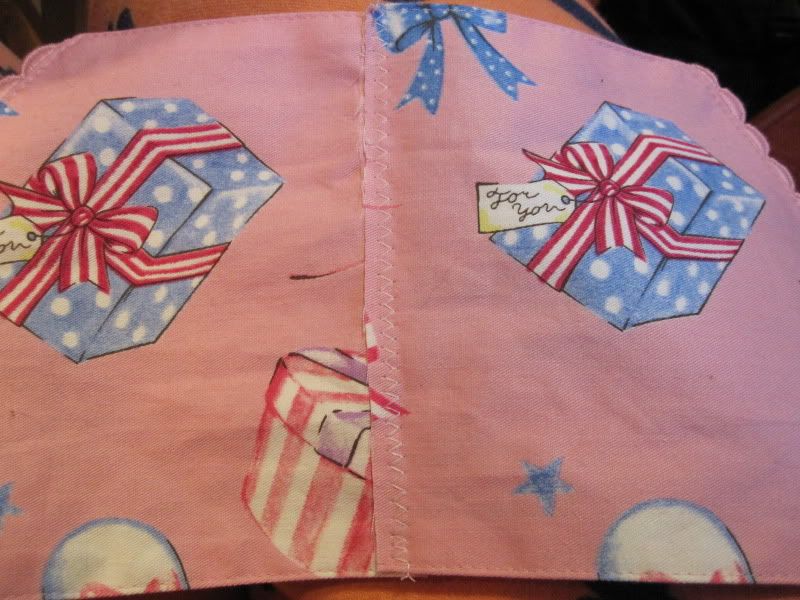
I'm going to be using my Merry Making Party JSK's waist-ties for this!
 |
| I had actually already cut out some things when I decided I would make a tutorial . . . |
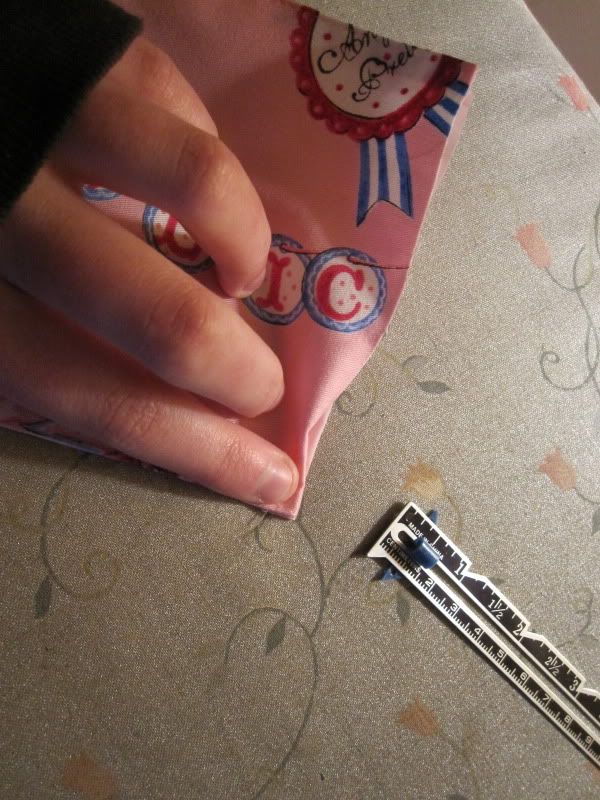
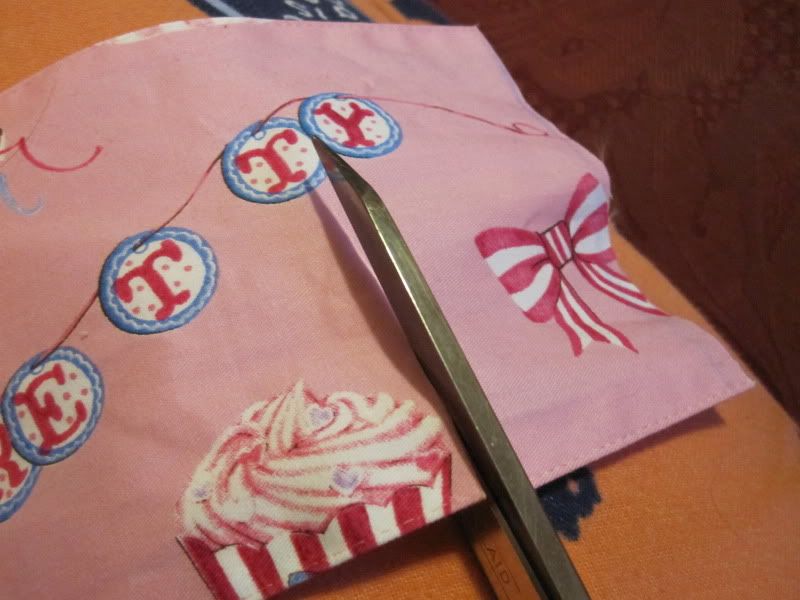
The first thing you have to do is cut two pieces of fabric from the ends of the waist-ties! You're going to sew the two edges together so don't make them too long or else your bow will end up a weird shape. I cut one piece from each tie that was about 3 inches long.
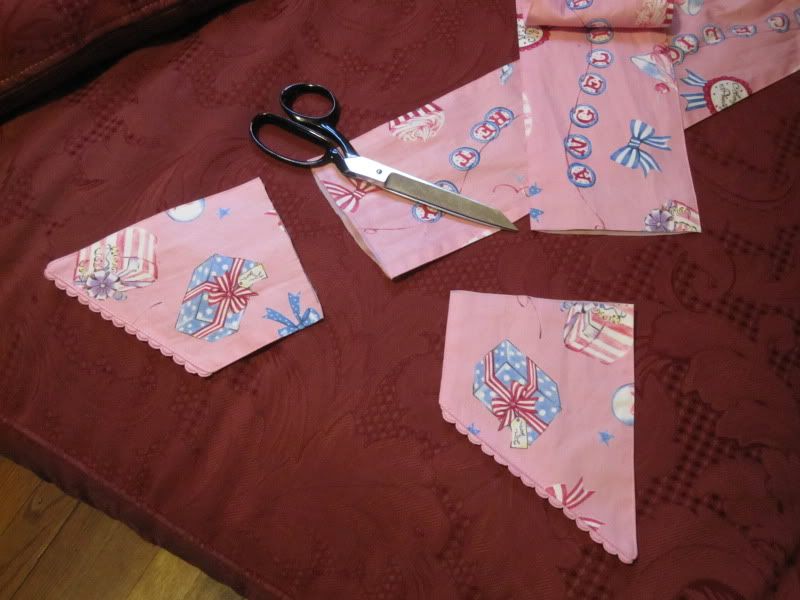 |
| about 3 inches from the widest part! |
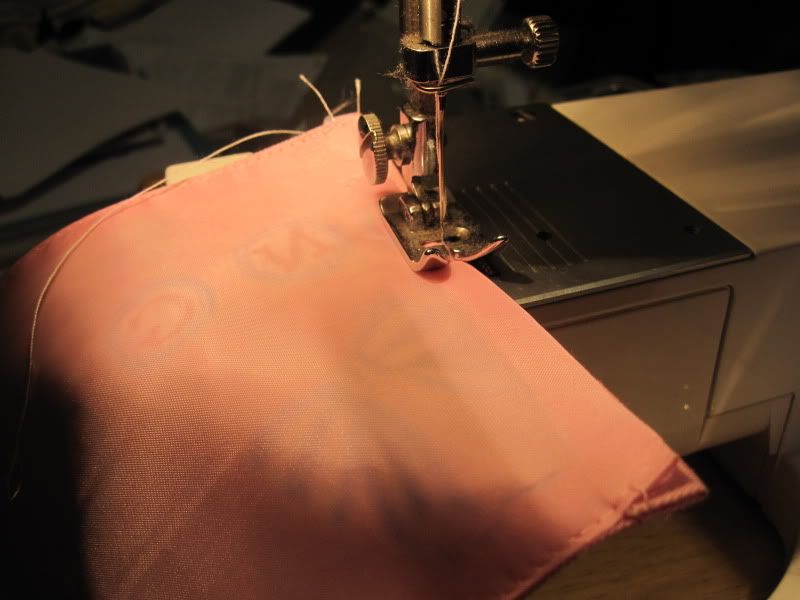
Once the shock of cutting up brand wore off, I pinned the two sides together and sewed them together using a smallish zig-zag stitch. I had an overlap of about half an inch on both sides.
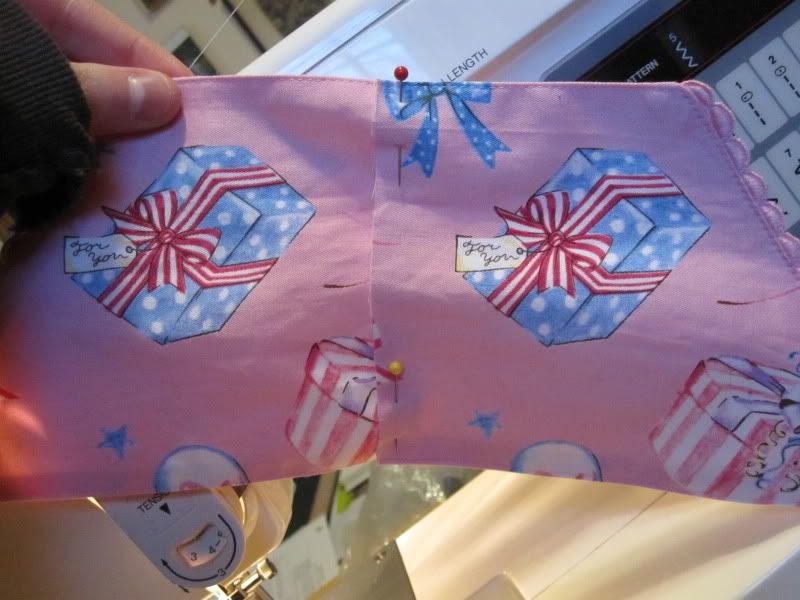 |
| pinned~ |
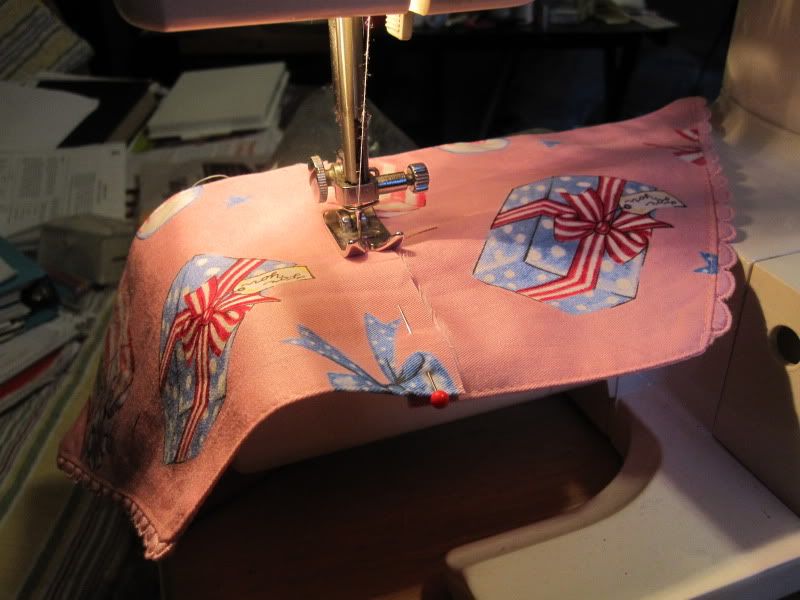 |
| sewing~ |
 |
| finished sewing! |
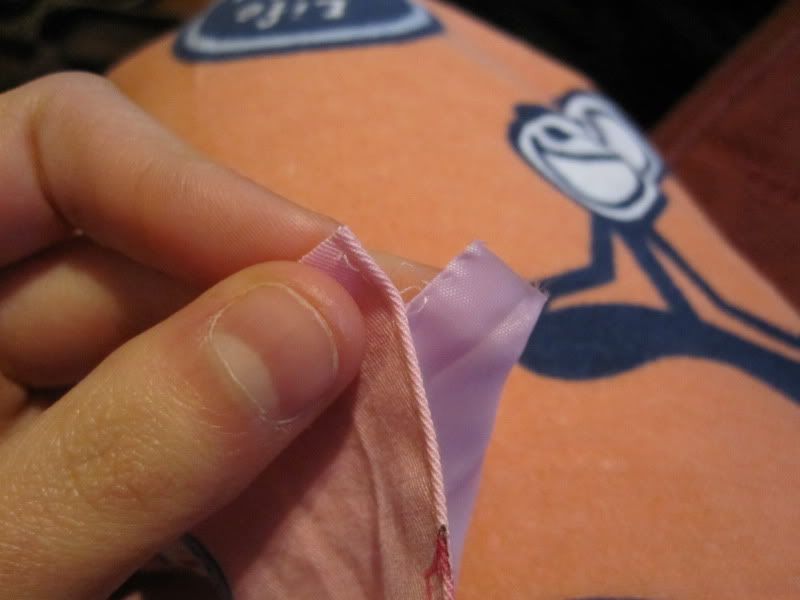
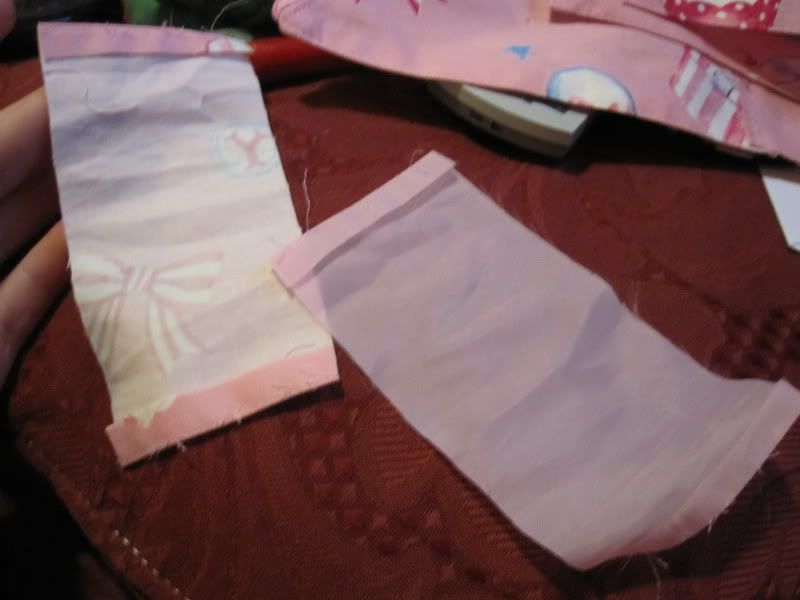
The next thing I did was cut another piece from one of the ties. This will be the top piece of the bow, so you only need to cut one (because now, since neither sides will already be finished, you'll need to hem the sides anyways.) My piece was about 5 inches long.
 |
| I wanted to get the "ANGELIC" in there! |
My waist-ties were lined so the next thing I did was undo the stitching that attached the lining to the main fabric. I did this so I could fold under both sides and hem them so that no raw edges would be seen anywhere.
 |
| undoing the lining a little bit. you have to undo it about half an inch so you can fold under enough. |
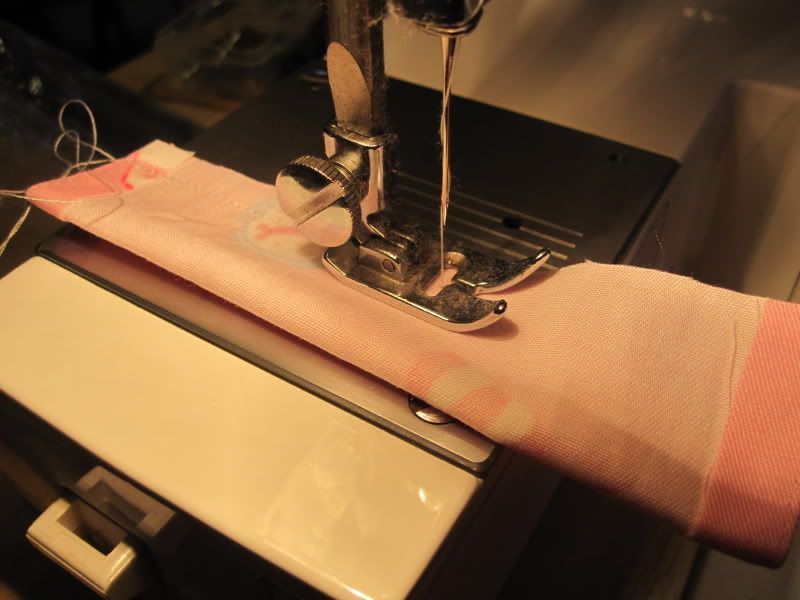
I then actually folded the edges under and ironed them so they would stay! Alternatively, you could finger press them, though you would have to press hard to ensure that they would retain the fold. I folded mine under about a quarter of an inch. Do this on both sides (so you should be folding down 2 edges of the top fabric and 2 edges of the lining/bottom fabric.)
 |
| folding it under! I then ironed the edges. |
After that I top-stitched the folded edges. When you're done with that, be sure to tie knots in the thread to they don't come loose and start to fall apart.
 |
| top stitching! I like to do this on the opposite side so that I make sure I can get both the top layer and the bottom layer; sometimes I don't get the bottom layer when I do it from the top! |
Now cut your last piece! This will be the center of the bow. Cut a piece about 2 inches wide and then remove the lining from the little piece.
 |
| cutting the piece! |
 |
| removed lining and top piece. |
Next, fold the fabric piece in half long-ways, right sides together. Stitch the long sides together using about a quarter-inch seam allowance.
 |
| instead of tying knots, I just back-stitched the ends of this piece. |
Turn this piece right-side out. Now you're ready to start assembling the bow! Iron all of your pieces now because once you put everything together, it's really hard to iron bows. Layer the smaller piece over the larger piece, making the smaller piece about an inch above the larger one. Baste the two together. (This step is not necessary, but I like to do it because it makes the pieces easier to work with when you're folding it.)
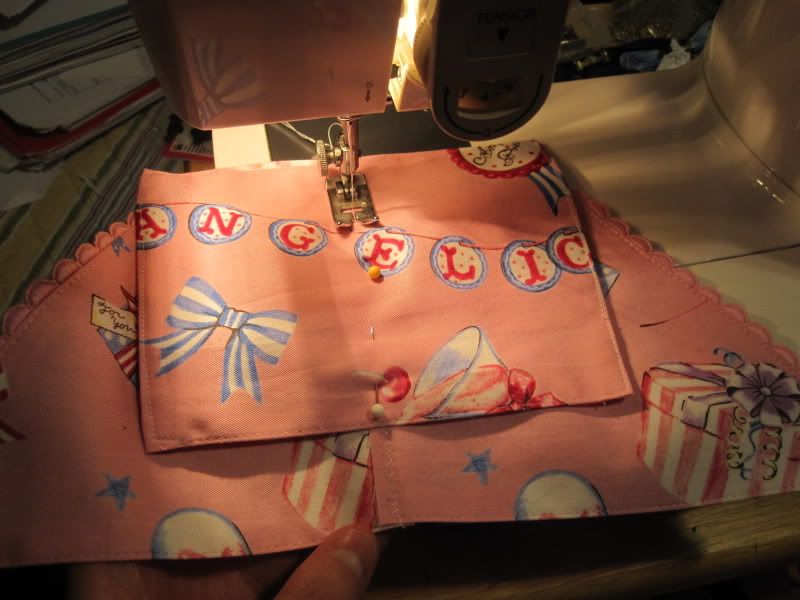 |
| stitch the pieces together! |
Now you have to fold the main part of the bow like an accordion. This is the most difficult step to describe, but if you own any bows then you could look at those and see how they're assembled.
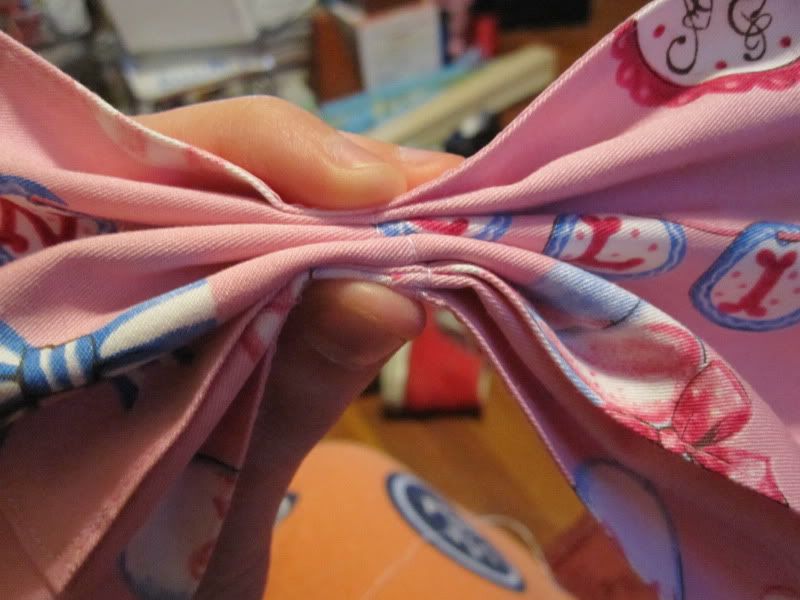 |
| fold the center like an accordion or a paper fan~ |
The penultimate step; wrap the small center piece around the middle of the bow. Chances are that this piece is going to be too long, so you'll want to trim it (if you don't, it will get bulky which makes it harder to finish and slip on the headband.)
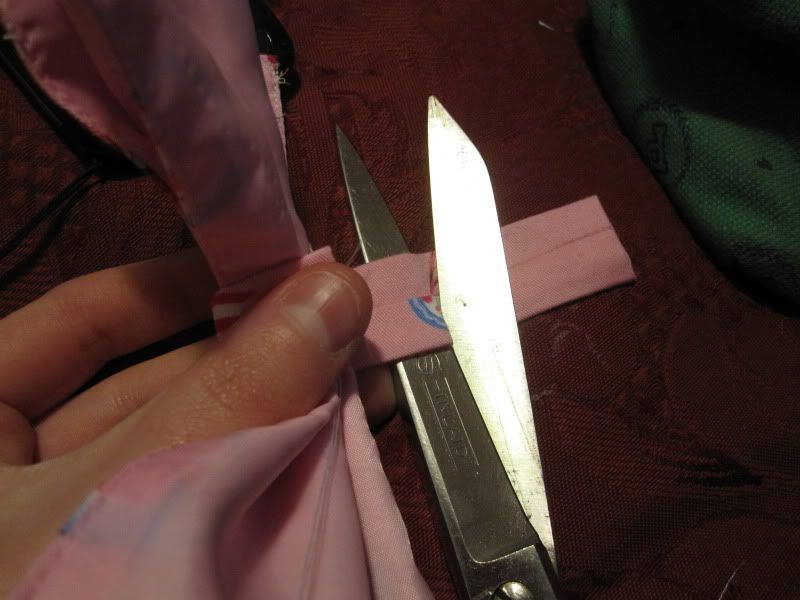 |
| mine was much too long so I cut off about an inch. |
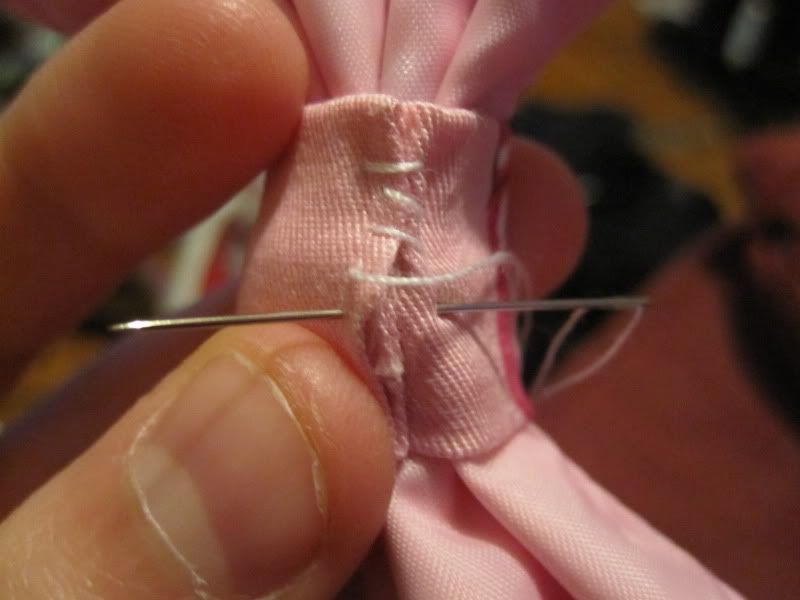
The final step! The last thing you have to do is sew the edges of the center part by hand. This is the easiest step!
Actually I lied, this is the easiest step: slide it onto a headband and wear!
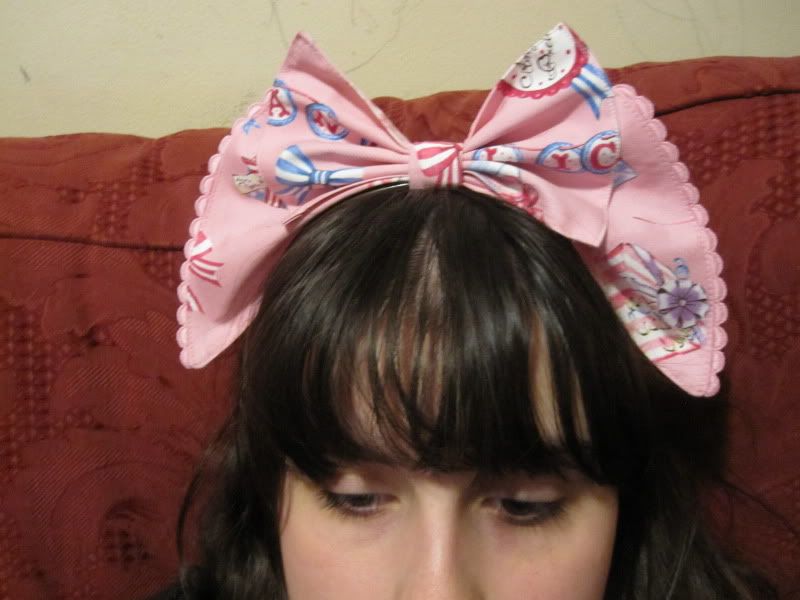
Please excuse the messy/unwashed hair and lack of make up; as I said, I was home sick today so I definitely didn't feel up for getting dressed to take one photo! Anyways, I'm pretty happy with how this turned out, but this is much larger than what I'm used to because I wanted to keep the pretty edging and the diagonal cut of the ties. Still, I'll probably only wear this with the rest of the set and I'll probably only wear that to lolita events where I do my hair up, so maybe that will balance out the largeness of this bow. I'm currently planning an outfit using Merry Making Party for the Lady Gaga concert that I'm going to on March 12th, which I am so stoked for! I'm doing over-the-top sweet lolita for the first time, so it should be interesting.

Thanks so much for sharing the tutorial!
ReplyDeleteI hope you feel better soon too! ;3;
thank you! I'm feeling better today :)
ReplyDeletei saw this on lj, wonderful tutorial!
ReplyDeletePositive site, where did u come up with the information on this posting?I have read a few of the articles on your website now, and I really like your style. Thanks a million and please keep up the effective work.
ReplyDeletebow ties for sale